According to reports published by the Institute of International Education, the number of international students in the United States reached a total of 1,043,839 in 2015/2016. Being China, India, Saudi Arabia, South Korea, and Canada, their top 5 countries of origin. To enroll, these students had to apply for a U.S. student visa (F-1 visa) from their countries or adjust their status if they were already in the United States.
A lot of our students contact us with concerns regarding their F-1 applications from their home countries. And contrary to what many believe, it does not have to be complicated. That’s why we decided to go through the process and tell you how to apply for a U.S student visa from overseas.
Applying for an F-1 Visa: Step by Step
Step #1 – Choosing Where to Study
By now, you have probably realized, there’s a lot to consider before submitting a visa application. First, be sure to choose the school that best suits your academic purposes. Additionally, do your research about the city you’ll be studying in and its lifestyle. And finally, check that you comply with all student visa requirements.

Step #2 – Determining Your Eligibility for a Student Visa
When you apply for a U.S. student visa, immigration authorities must determine you have legitimate intentions to complete your studies in the U.S. and then return to your country. Also, you or your sponsor need to prove to have enough funds to cover your expenses during the length of your studies. The required funds are $1,100 per month for the main applicant and $600 per month for each dependent.
Your dependents can be your spouse and children. Please note that you will need to provide the necessary documents to prove your relationship with your dependents. For example, marriage certificates and birth certificates.

Step #3 – The Enrollment Process
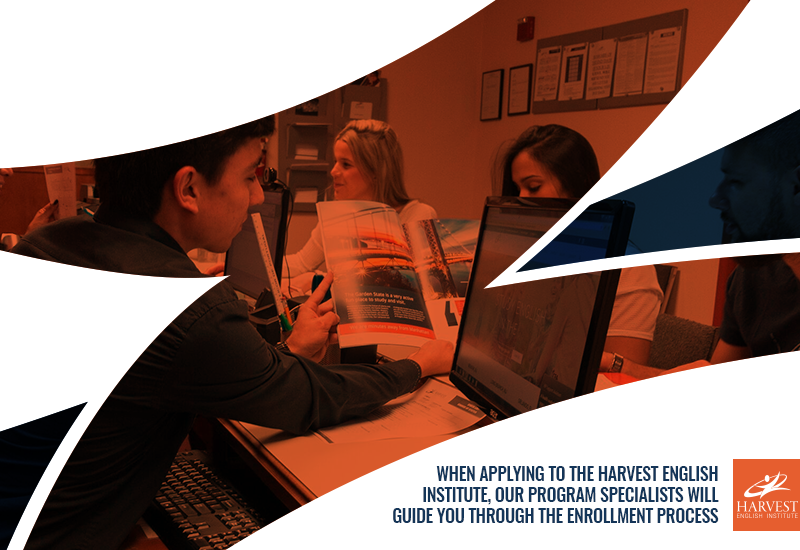
If you want to become a Harvest English Institute student, please download our Out of Country Application form and email it to us with the supporting documents:
- Copy of a valid passport
- Documents to proof your relationship with any listed dependents
- Proof of financial support
In addition to any enrollment fees, you’ll need to pay for a Student and Exchange Visitor Information System (SEVIS) fee. The SEVIS fee is different from a visa application fee and you can choose to pay for it directly or to include it in your enrollment invoice. If you choose to pay it by yourself, please visit the official SEVIS payment tutorial to avoid any mistakes.
Step #4 – Your Visa Interview
Once you receive your I-20 and acceptance letter, it’s time to book your visa interview at your local U.S. Embassy or Consulate. They will assign you a date, depending on the local demand and volume of applicants.
You’ll need to fill out an online Non-Immigrant Visa Application DS-160 and provide all requested information. Don’t forget to print the confirmation page with the barcode, you will need it for your visa interview.
Pay your ‘MRV fee’ or visa application fee and take your payment confirmation with you to the visa interview

Here’s what you’ll need to take to your visa interview:
- Valid passport (for at least six months)
- I-20 Form (signed)
- School admission letter
- Completed visa applications forms
- Two 2”x 2” photographs in the prescribed format
- Visa application fee receipt
- A receipt for the SEVIS fee. (If you have not received an official receipt in the mail showing payment and the fee was paid electronically, the consulate will accept the temporary printed receipt)
- Financial evidence that shows you have sufficient funds to cover your tuition and living expenses during the period you intend to study.
- Any information that proves that you will return to your home country after finishing your studies in the United States. This may include proof of property, family, or other ties to your community.
Immigration treats each case as unique. There’s no guarantee that you’ll be granted a visa, but it is certainly worth trying.
Step #5 – Traveling to the United States
Once your visa is approved, you can travel to the U.S. up to 30 days before your start date. Use this time to get settled and explore the city. Remember you need to take your placement test and attend your orientation session for us to assign you to your class.

Apply for a U.S. Student Visa and Join the Harvest Family
Now you know how to apply for a U.S. student visa and are ready to join us. Use the contact form to request further information and send us your application! It’s time to live the Harvest experience!


